27/10/2012

Fun with basing?? ACW dismounted cavalry

As I had gained some extra dismounted ACW figures to boost my collection I decided to mix them in with the older figures and then distinguish each "unit" by giving them a distinctive base.

The overall collection, only one unit of each side has standard basing.


The wheatfield, using coir matting cut into chunks, the hardest part was thinning down the base.


Fenceline, not full height as the figures are quite low


Cabbage patch, an astroturf sample. I'll use some more to make some fields as it will be easy to move figures across.

Figures are a mix of various plastics with a number of old Jacklex figures bought from the Harrow Model Shop many years ago.

Off to Fiasco tomorrow

I'll be at the Fiasco show in Leeds tomorrow so please pop by the Lance & Longbow stand and say hello.

I'll also have my trading figures available for sale.

26/10/2012

Back to the Sudan

After a period of tidying up from the big game it's back to what was still in progress. I had been working on a unit of the 19th Husars for the Sudan, but, now they are done, unfortunately two weeks after they would have been of use.


Figures are the Hat 17th Lancers for the Zulu War, but I already had some Jacklex for this so they were conscripted for the Sudan

24/10/2012

Alamein big game - Lightfoot

This was my table where I took command of the lead elements of the 51st Highland Division (153rd Brigade) our plan ws to strike hard on one flank and then roll up the Axis poitions with the infantry while the Armour exploited though the resulting gap.

Allied infantry deploy on table 51st Highland on the left, 9th Australian in the centre, then the Axis positions were revealed. The double row of barbed wire indicates the extent of the Axis minefield.


The Italian battery that caused us a lot of problems during the game, it performed far better than any other Axis battery.


The traditional Ice Cream van appears on the Rahman track having spoted some likely customers serving a German 210mm gun.


View from the north end of the axis positions


and from the south. Despite our intelligence reports there were only dummy positions on point 30 covering the Highland Divisions crossing point. The only opposition would be a dug in AA battalion.


Progress! The Australians making their way across the minefield, while the enemy positions are subject to a rolling barrage.


The barrage reaches the AA battalion and causes casualties.


Icecream break for the hard working Italian gunners


Nearly there, The Australians have almost breached the minefield and the attached Valentines from 50th RTR follow up.


Success!! 153rd Brigade takes point 30. Cue bagpipe music to celebrate, also that the artillery barrage had completed the destruction of the German AA battalion.


The flanking attack commences, unfortunately exposing their own flank to artillery fire, which caused the attack to stall twice.


The Axis armour arrives quicker than our own armour as it had taken longer than expected to clear the minefields.


All that's available to stop them is the Valentines of 50th RTR. Will the cavalry (1st Armoured Division) arrive in time?


The cavalry arrives, but it's too late as time is called shortly afterwards


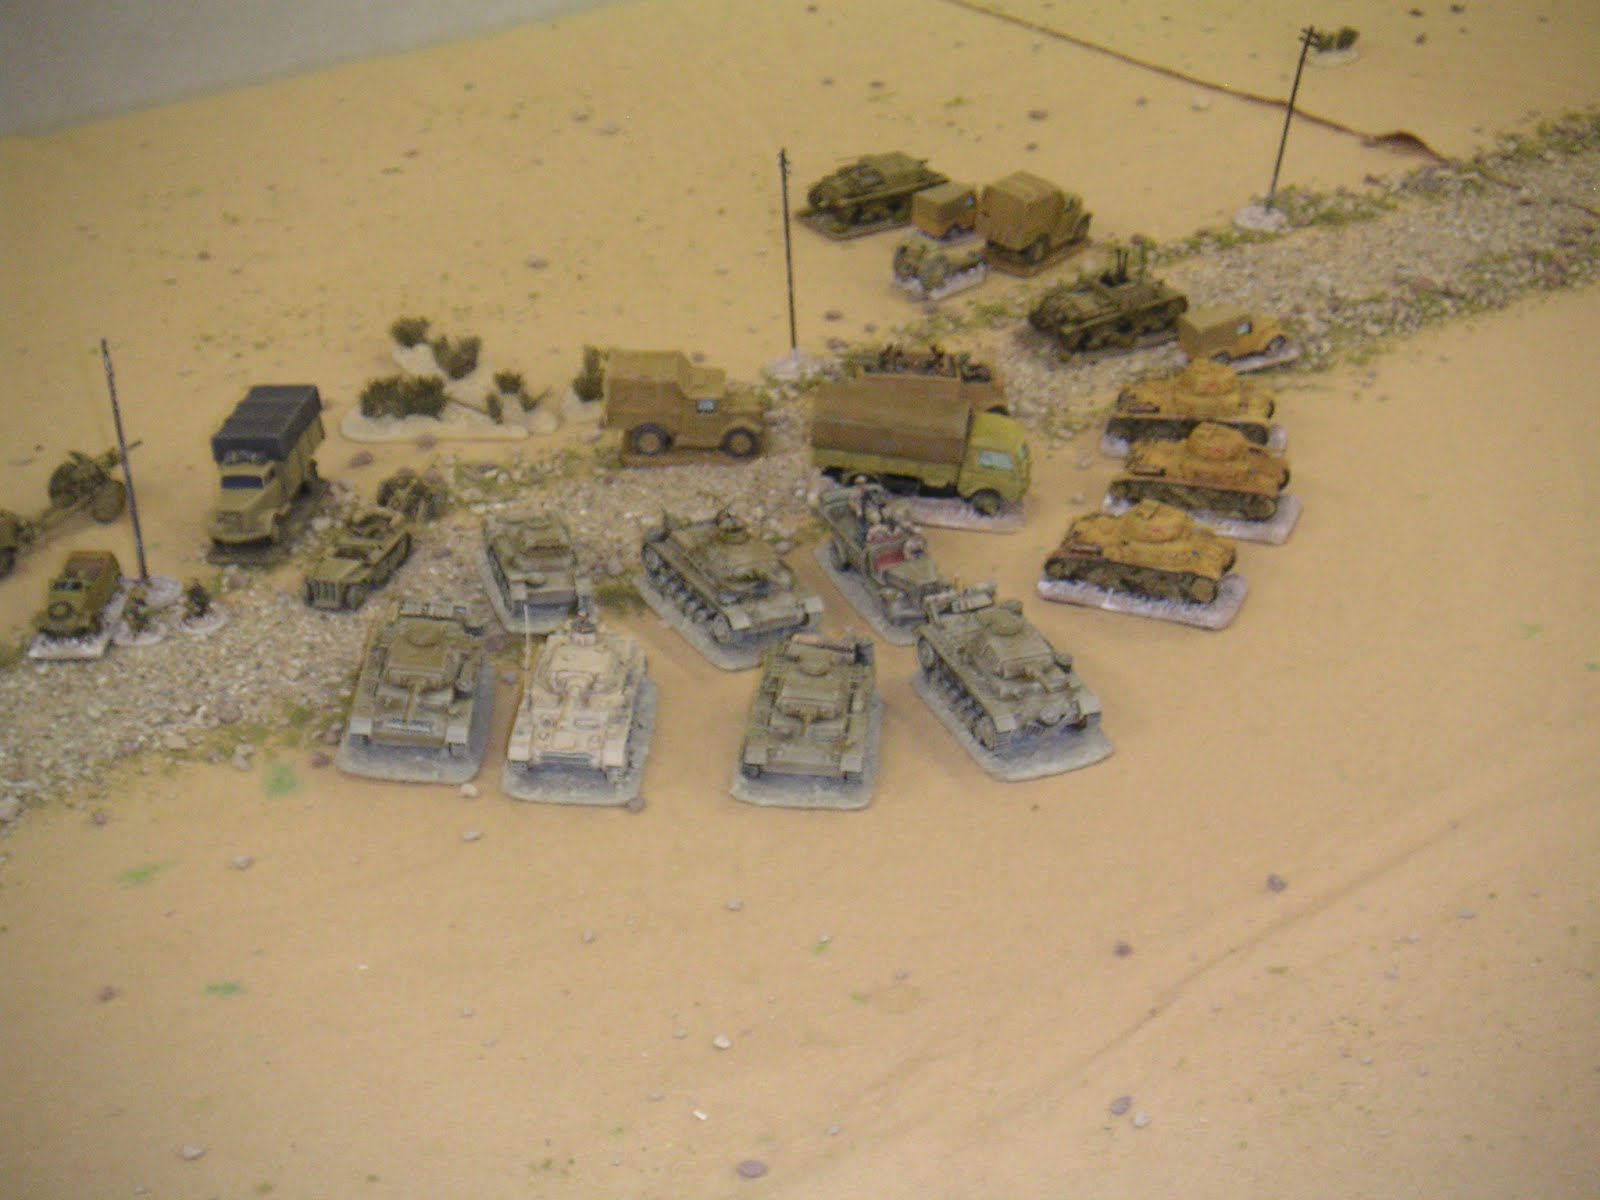
The adjacent Axis armour, who were still on their rear table. The M13/40s did push though onto the central table in the last move.


More details and pictures on the SOGG forum

Alamein big game - Lightfoot Left Flank

This covered the action of the 21st South African and 2nd New Zealand divisions against Miteiriya ridge

Allied infantry move on and the Axis positions are revealed


A nasty surprise awaits, a Lancia 3RO with 90mm gun hides behind the ridge (one of my toys loaned to the Axis)


A view along the ridge from the southern edge.


Allied armour from 10th Armoured Division waits for the northern minefield gap to be cleared. In all three evenly spaced gaps were created, unlike our table where we concentrated on one flank.


Infantry assaults all along the ridge. The minefields were dominantly anti-armour so the infantry could usually cross with problems, just losing the odd casualty.


Infantry still struggling to break through, the engineers can be seen half way through the minefields.


The armour is on its way through, but the Allied infantry has been virtually eliminated.


But too late, the Axis armour (elements of Littorio and 15th panzer) has arrived


The beginnings of a breakout.


More details and pictures on the SOGG forum

Alamein big game - Naqb Rala

The third game covered the actions of the Free French against Mt Heimemat occupied by the Italian Folgore paratroops. being a long way away from my table I had no idea about how the game there went until it was over. It was fought twice with the Italians winning the first game and the French the second.


The players actually swapped sides for the second game and the French success in the second game was due to learning the lessons from the first.


Unfortunately for the overall game result only the first game counted.


Alamein big game - Barce

For those who might have had time on their hands or for the odd visitor the SAS raid on Barce that had occured the month before was set up in a spare corner of the hall. Those who have the 1st edition of Rapid Fire book will remember it.


It was played once during the weekend.